While we know it’s going to be a rough few weeks for everyone and we want all of you to stay safe, we also want you to keep thinking about those projects you’ve been wanting to do while at home and one of those should be building a deck or fixing the deck you have! We have a few tips that will ensure you don’t get frustrated as well as spend too much cash.
Prepare for Building Your Deck
 This one is obvious, but usually forgotten. Preparation for building a deck not only involves drawing up plans and getting supplies, but getting proper permits or checking with the homeowner’s association before starting. Don’t start this project and then find out you couldn’t build it.
Deck Dimensions and Marking
Know your yard size dimensions and the dimensions of the deck you want to build and start to mark the area. The center of the deck is where you want to mark first then mark the borders using stakes and string. You will have to adjust the stakes as you mark the others to ensure straight lines. You want to also mark the ground for the corners as well as the midpoints for the support posts.
Digging and Pouring Concrete for the Deck
Renting an auger is your best bet when building a deck. You’ll want to go dig at least 65-inches to go below the frost line in Wisconsin. The holes will be at the corners and midpoints you marked.
Important note here if you have a sloping yard: you will need a way to form the concrete for the lower holes so they reach the height of the string. You can use cardboard tubes.
Mix the concrete and put a J-bolt into the cement.
Deck Framing and Placing Decking
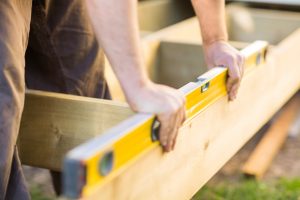
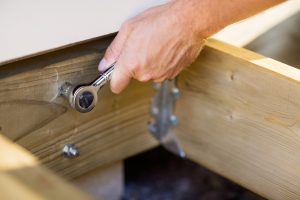
 After the cement has dried for 48 hours, get your lumber cut to the length you need for the frame and connect with steel bracket ties. Anchor plates will go onto the cement post holes and attach your perimeter boards to them. Now, finish the framing by placing the joists 16-inches apart using steel joist hangers.
 Once the joists are up, it’s time for the decking. You’ll want decking screws. You will want about 1/4” gap between planks. You can stagger the cut to make the deck look “artsy”. Lastly, fasten the wood portions to the cement posts by bolting brackets and nails into the four corners or each perimeter of the deck.
We would LOVE to help you with your deck project! Let us know your plans and we will guide you through the process. We can also point you to some local contractors who can do this for you!
